Shelving: features, types and master classes
Every year, such a piece of furniture as a shelf becomes more and more popular. The option without a back wall looks great as a decorative element. In addition, such designs are often used to store small items, accessories or zoning spaces. Moreover, the rack can be made independently. The main thing is to determine the size, select the materials and you can proceed with the actions.


Rack: main types and their features
Despite the fact that all racks have similar functions, there are several types. First of all, it is worth noting stationary structures. Often they are massive, very durable and reliable. Most often they are chosen for zoning the room, since such racks are stable and cannot be rearranged without dismantling. This is especially important if the family has children.


The next, no less popular form is mobile shelving. They are made of lighter materials and complemented with small wheels. This option is ideal for office space, as well as for those who like to do a rearrangement. Often, it is these racks that are made open. Due to this, the very ease is achieved. But if you prefer to store things not on public display, then you should purchase decorative boxes or baskets. This solution looks stylish, concise and not overloaded.


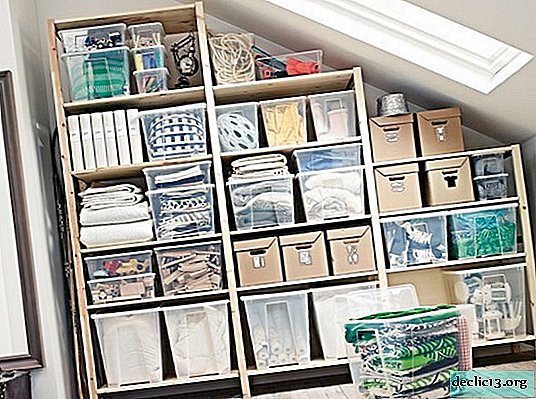
In small rooms, hanging racks are often used. They are compact, so they do not take up too much free space.


Also note that shelving can be completely different in shape. Thanks to this, you can choose the most suitable option specifically for your type of room. But if you wish, you can make a rack yourself. In this case, you will be sure that the design will fit perfectly into the interior.


DIY shelving
As mentioned above, there are racks of different types. Nevertheless, you can do it yourself with each of them. Of course, you will need different tools and materials, but the result is definitely worth it.


Budget Rack

Necessary materials and tools:
- wooden boxes - 7 pcs.;
- sanding machine or sandpaper;
- acrylic paint;
- brush;
- screwdriver.

To begin, proceed to the preparation of boxes. We process the surface of each of them using a grinding machine or sandpaper.
We paint each of them with acrylic paint and leave to dry completely.

We build a rack, changing the location of the boxes. When the appearance is completely satisfied, we disassemble it and connect all the boxes together using a screwdriver.

The result is an original rack. If desired, you can paint it in a different color or change the location of the boxes.

Laconic rack

You will need the following:
- wrench;
- boards of the same size;
- galvanized threaded tubes;
- grinding machine;
- wheels
- drill;
- flanges;
- couplings;
- screws for metal;
- roulette;
- wood screws;
- drill;
- pencil.


To begin with, we put flanges in each corner on one of the boards. They should be installed at the same distance, so use a tape measure for more accurate measurements.

Make notes with a pencil on each side.

We put all the boards in one pile. Using a drill and an electric drill, we make a hole in the first two boards, according to the mark.


Using a bit larger drill, we make holes on the remaining boards. 
We assemble the design. To do this, we attach the flanges to the surface with a screw. We insert prepared metal tubes into the holes. Install the coupling in the upper part of each rail. For a stronger fixation of the ties use a wrench.

We attach the flanges to the upper shelf using a drill and wooden screws.

We put the rack on its side and proceed to install the wheels. To do this, make marks with a pencil so that they are located at the same distance and attach the wheels with screws.

A beautiful but at the same time simple rack is ready.


Rack for a nursery

Necessary materials:
- drawing of the rack;
- fiberboard sheets;
- confirmations;
- angle clamp;
- drill;
- drill;
- dowels;
- hammer;
- Newspapers
- white acrylic paint;
- brush;
- acrylic lacquer;
- felt pads.

To start, we make a drawing of the future rack.

We purchase fiberboard sheets of the desired size. 
We prepare all the blanks and markup where it will be necessary to make holes.

According to the markup, we make holes in each corner and screw the confirmations.


We take the longest parts, collect the outer side of the rack and fix it with an angular clamp. This is necessary so that the design is sufficiently rigid and does not bend during installation of the shelves.

We select a drill of a suitable size and make marks.


We also pre-determine the depth of drilling.

Only after that we make holes for dowels.

We insert dowel markers into the holes. This is necessary in order to make marks on the second part.

We use one more shelf as a template. We put it and hit it with a hammer to transfer the marks.

We make small indentations.

We drill holes for dowels and hammer them. We install the part in place and in the same way we make the first row of the rack.


Set a long shelf and repeat the same to make the second row.

Remove the top and make shelves for the third row. Set the upper shelf back.

We disassemble the entire rack into parts. We put paper or newspapers on the working area. We paint the blanks with white acrylic paint.

After drying, cover the entire surface with varnish and leave the structure for a day.

We collect all the details, and attach the felt pads to the bottom.

If desired, attach the rear wall to the rack. 
We install the rack in the nursery and fill it with toys or other things.


Shelving in the interior
Perhaps the most common rack is placed in the living room. This helps to divide it into certain zones. In addition, he acts as a decorative element, as on the shelves often put various frames with memorable photos, interesting books, small flower vases and much more. If you wish, you can install a fully open rack so that it transmits light and performs exclusively the function of a partition. It looks quite original.


 No less often, the rack is chosen for the children's room. In this case, it performs a more functional role. That is, it can be used to store clothes, toys and other necessary things. It is best to purchase plastic containers or wicker baskets for this. This design looks very beautiful and modern.


In the hallway or dressing room, the shelving is simply an irreplaceable thing. This is very convenient, since it can accommodate all the shoes, outerwear, various accessories and much more.


Shelving is a truly universal thing that looks great in every room. Therefore, feel free to purchase such a piece of decor or try to make it yourself.
Watch the video: Sensation and Perception: Crash Course Psychology #5 (December 2024).


-
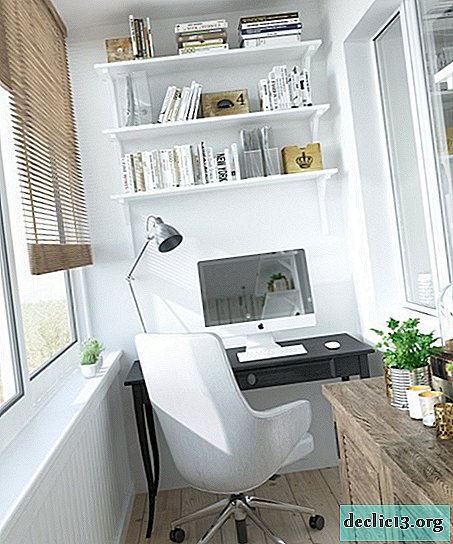
Rules for choosing a chair on the balcony, optimal models
The balcony in apartments most often serves as a place to store unnecessary things, blanks. But there are other ways to use this space. For example, by putting a small table and chair on the balcony, you can organize a cozy sitting area. When choosing, the combination of upholstered furniture with the interior, the quality of the frame of the upholstery material is of importance. ... -

-
-